Click on a photo to find out more info.


Click on a photo to find out more info.

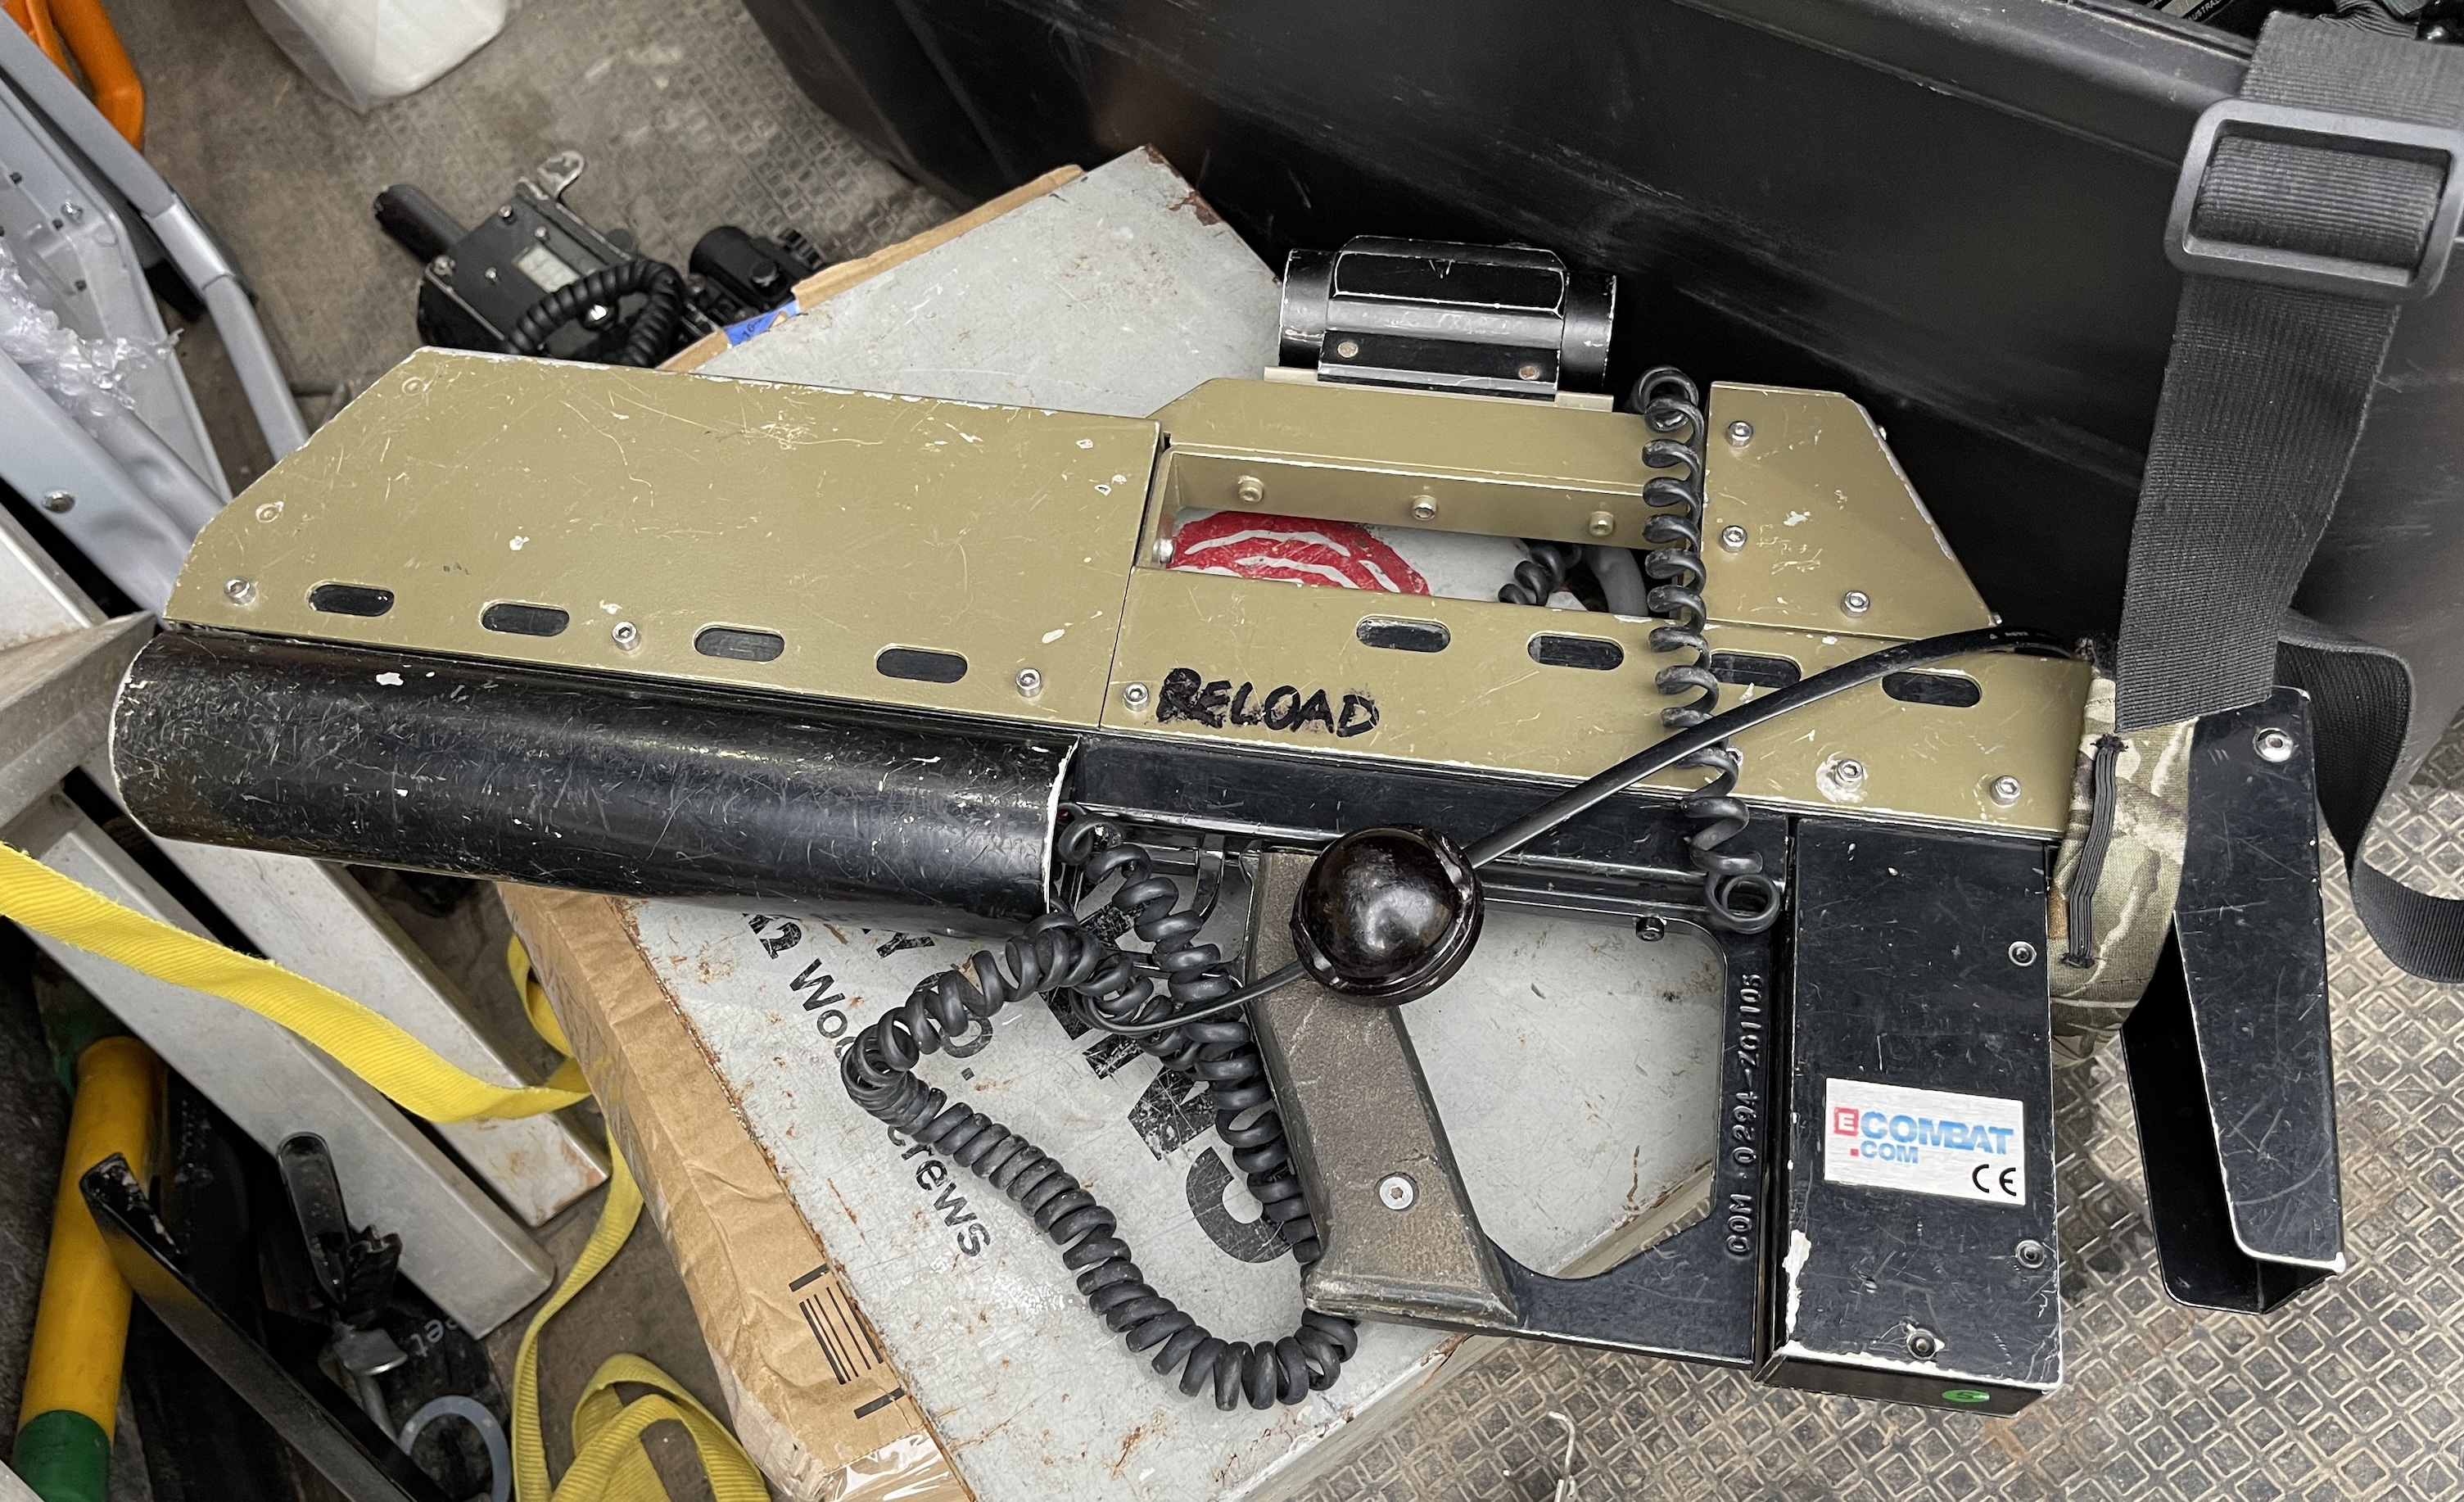
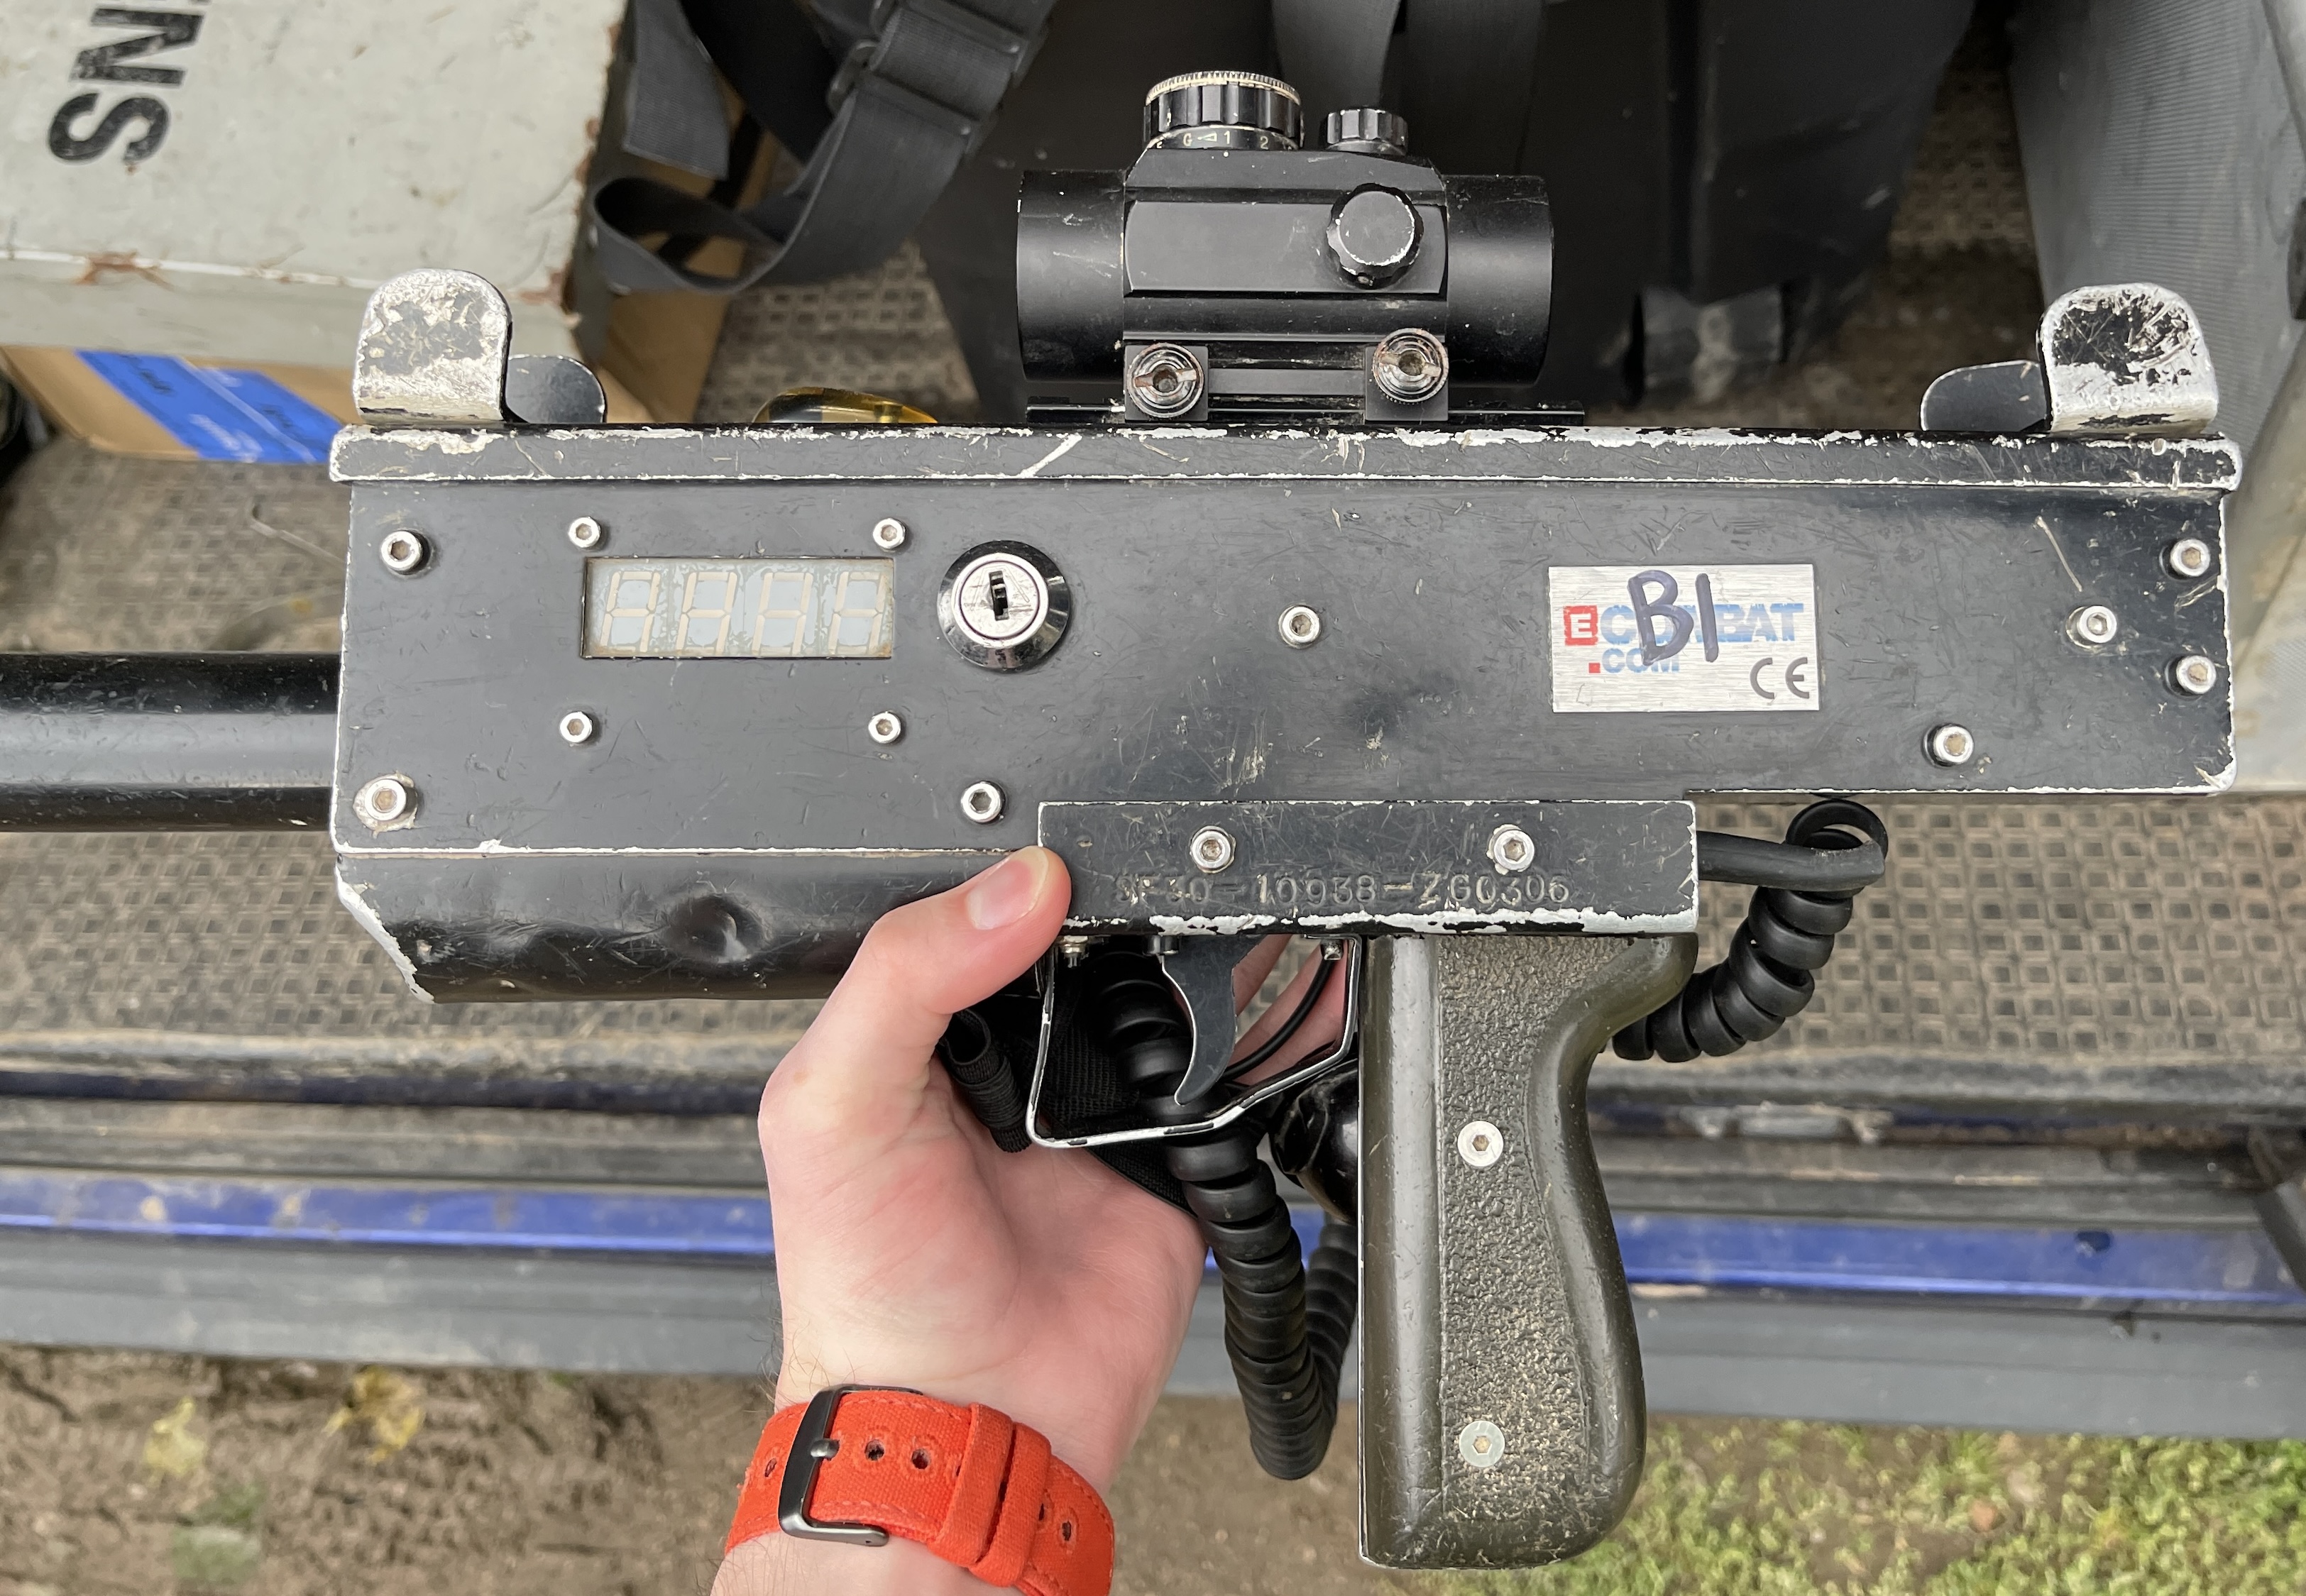
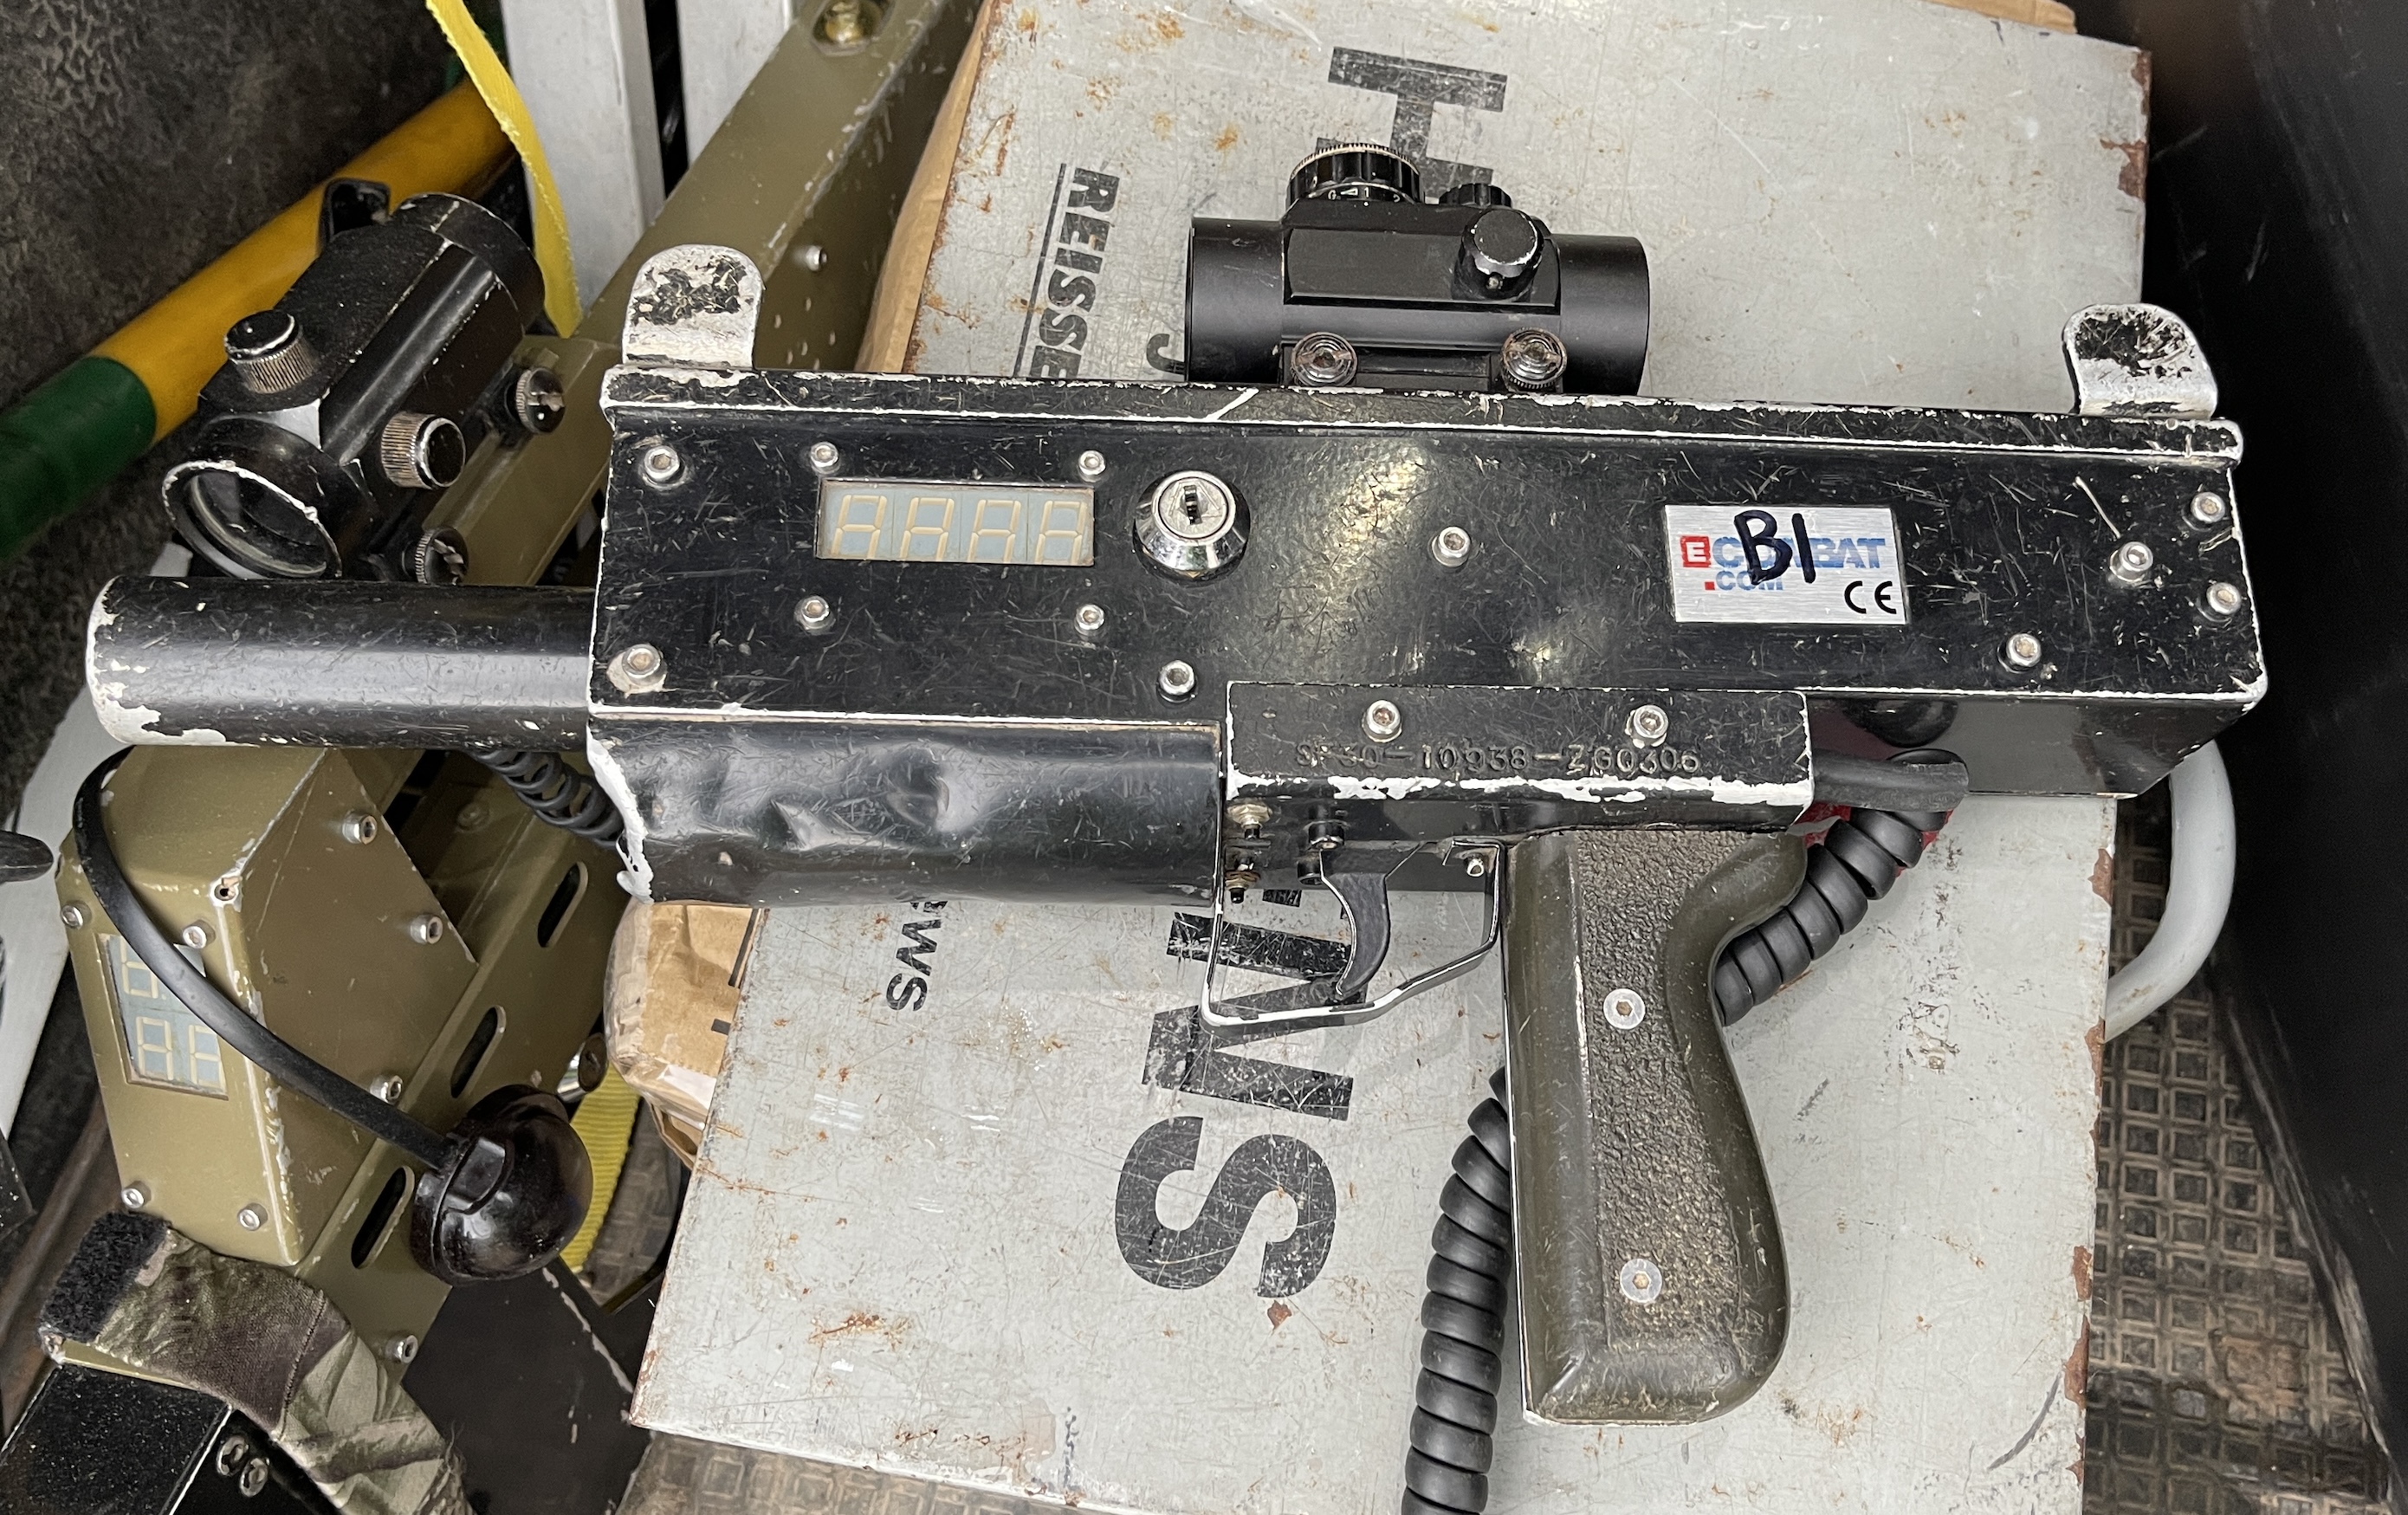
On 07/09/2024 I got to see a couple of original weapons (a spitfire and G36). I’ve never seen these used before so they must be before 2012. There’s no antenna so they must have to be started manually (not using the start function on the ref gun). The screens also look really basic and nothing like the ones we use today.


21/10/2023 – This has to be the most surprising moment I’ve ever witnessed. We had just started team elim from airdrop. About 2 minutes later one of the players came back holding a rabbit. I’ve never even seen one in battlefield and I’m not sure why he decided it would be a good idea to pick it up, surely you’d be worried about catching a disease from picking up a wild animal that you’ve just found in a field. I suppose it looked injured and he thought he could help it. After putting the rabbit back down it was completely frozen in fear. We noticed its leg was at a strange angle, so it was likely in too much pain to move as well. After I’d radioed this in, the Dad of the kid that had picked the rabbit up came to airdrop with some gardening gloves to pick up the rabbit and laid it in a bush.

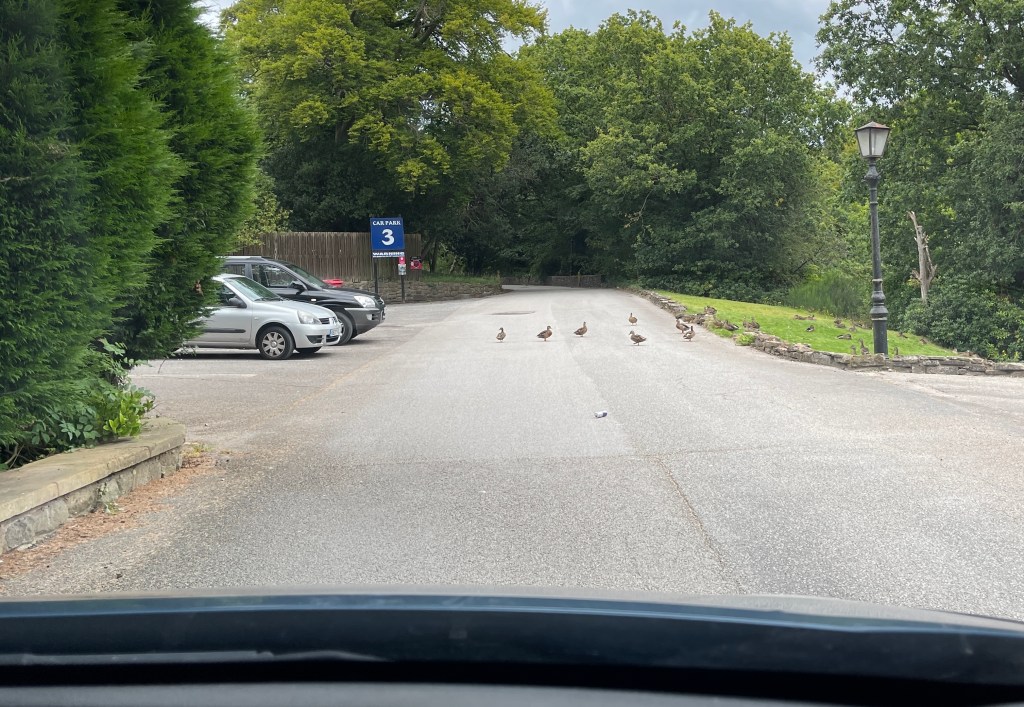
These ducks usually stay in the pond but on this day they wanted to explore. Beeping my horn didn’t affect them at all. After about a minute or so they finally got off the road.
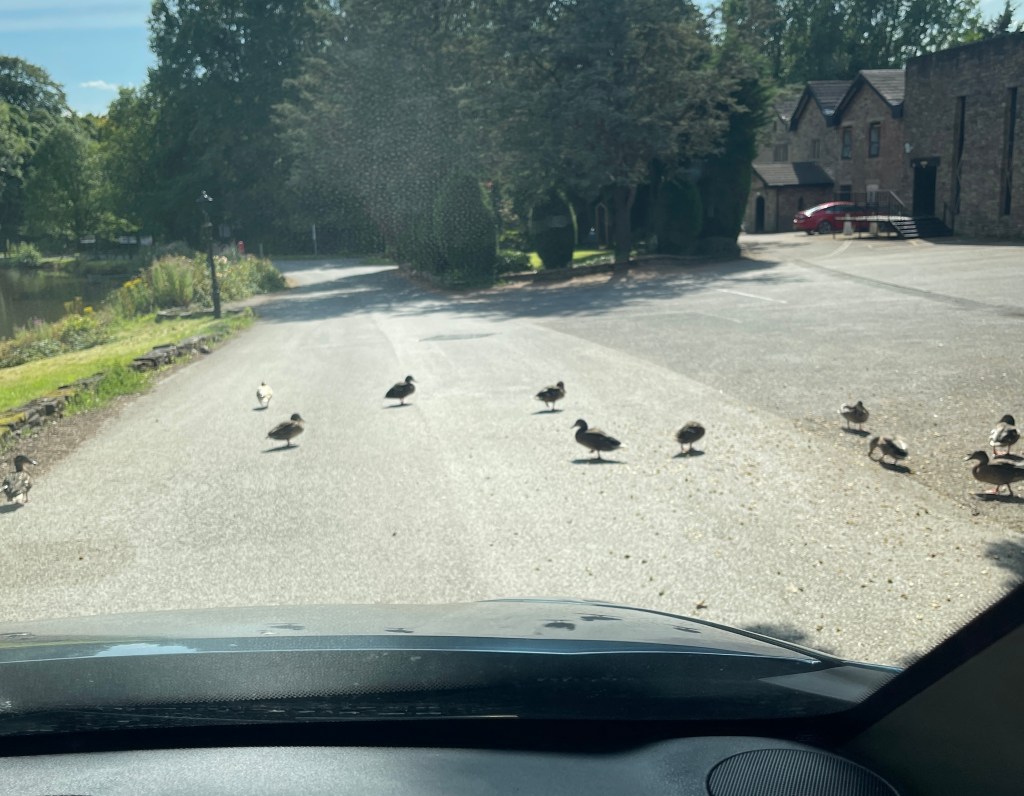
On another day they were waiting for me to leave so I had to sit patiently while they trundled back to the pond.


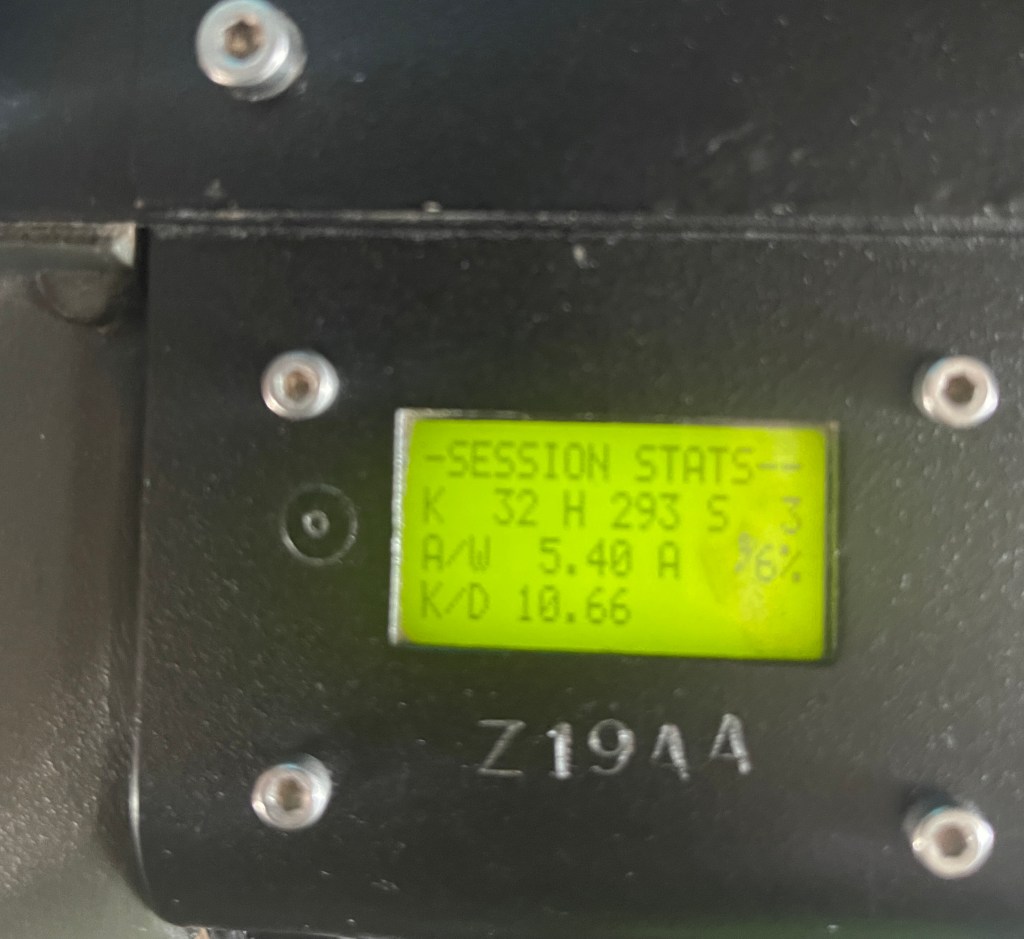

These are the current high scores.


The most unique and difficult way to play. Even though traditional modes are still played (TDM, border and FFA), at night they feel like completely new game modes. You can barely see in front of you so spotting other players who are starting from the other side of the map is impossible. I remember seeing enemy flashes and shooting at them, which then gave away my position to everyone on the other team. Normally you’re only on edge when behind enemy lines, but in night ops you never know where the enemy might be. Even though I’ve only played night ops once or twice, it’s still one of my top 3 favourite games.

Difficulty is set by a ref gun at the start of the session, directly after the guns are turned on.
The difficulty originally used in all game modes.
The game mode that is being used at the moment.
This game mode is reserved for special occasions and provides a unique experience.

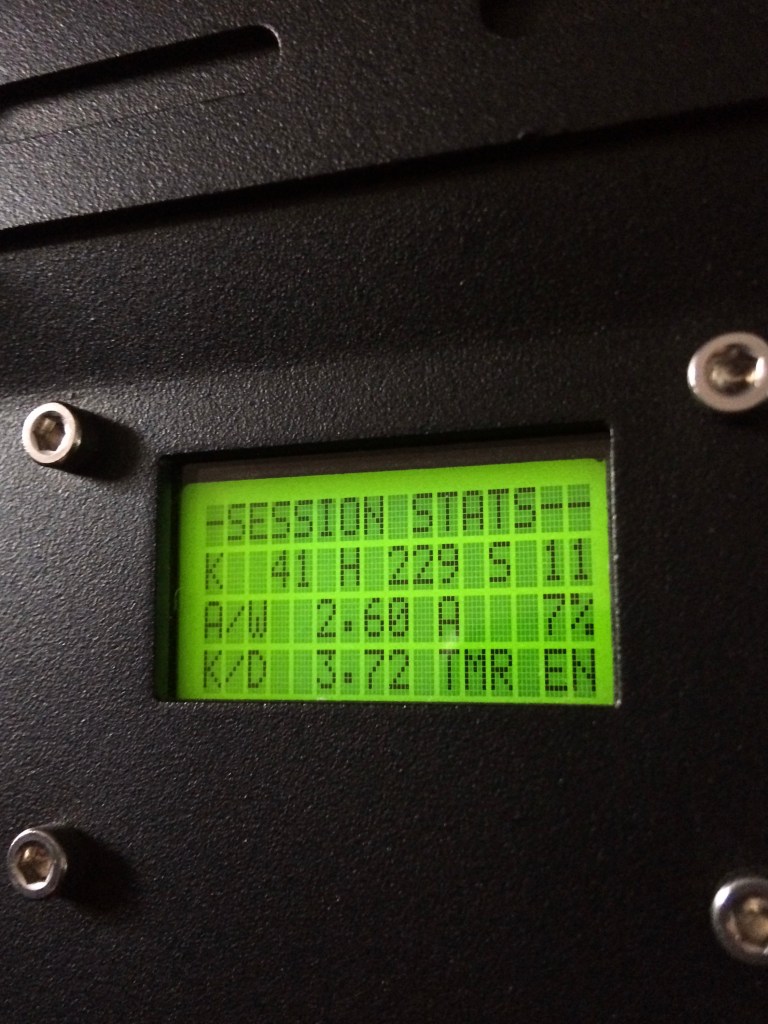
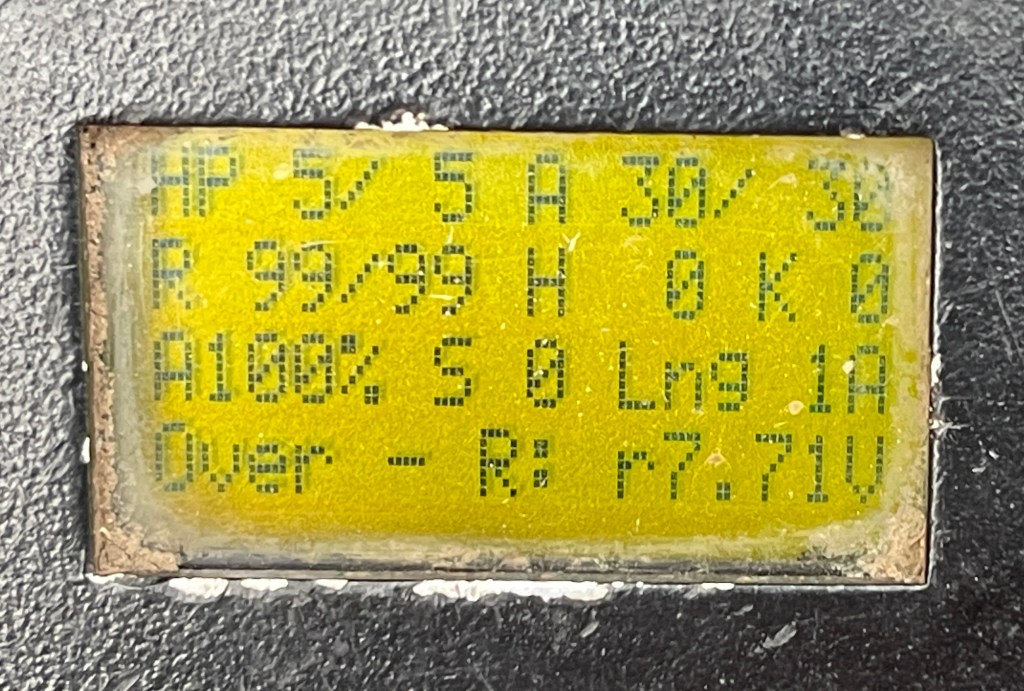
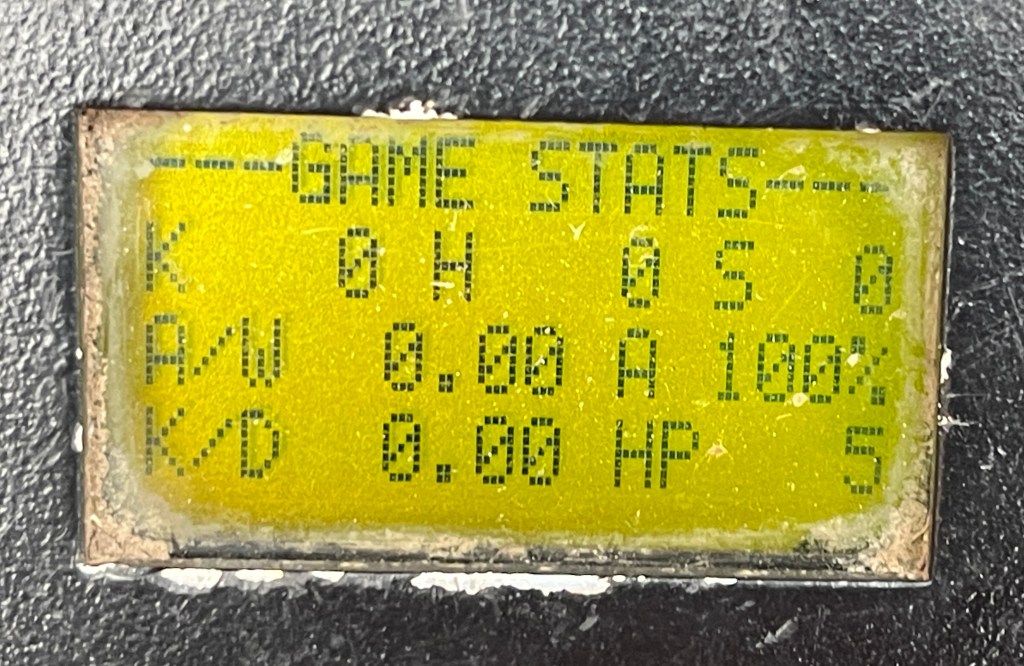
This is what’s shown on the screens on all guns. This particular screen is from a spitfire. You can tell because of the amount of chips, scratches and dirt on the gun – at least one per day is dropped onto gravel or grass. The screens can be cycled using the red or black button (with the exception of the first image).


This is my personal favourite game mode. It follows the same premise as base assault, but there are no attackers or defenders. One team will start near the bottom fort, and the other will either start near airdrop or the top fort. Both teams have 20 lives with no respawns. The winning team is the one with the most players alive in either fort in the village, so you could have 3 players in one fort and 1 in another to combine that score. This game mode is more strategically difficult than BA as players can choose to rush to the village to defend it (and risk being surrounded) or let the other team take the fort and flank them.
10/10 – Very tactical as you need to decide when you’re going to enter the village and from which angle.

My second favourite game mode and one of the first to exist. This predates base assault – the rules are effectively the same except the building is replaced by the whole of Zone A. However, the defenders cannot leave Zone A and the attackers can leave and enter at any point, but only by the 2 entrances. Traditionally, the attackers would have 25 lives and the defenders would have 20 as the defenders have a massive advantage. The defenders have far more cover points and places to hide, and to win they only need one person alive. For the attackers to win, they need to kill every single member of the defending team in 10 minutes. This is rarely done but is possible if the attacking team is able to enter the zone in under 2 minutes and has good cover fire from hawk’s nest. The defenders will usually have a few people very close to the entrance to deter attackers from entering too early and they will always die due to being the first ones being fired upon. The larger guns are able to sit at the very back with good cover and it’s very difficult to get to them unless the attacking team are very coordinated.
10/10 – Defenders need to have good teamwork and attackers need to be quick. A lot of action in a small area.

In a standard free for all it can be very difficult to spot who is cheating. This is because all you need to do is stay a good distance to whoever you’ve teamed up with, not shoot them and not talk to them when others are around. Even when they are spotted, it can be very easy to deny just by splitting up and then regrouping later. When called out by other players, it just devolves into ‘he said she said’ as they all accuse each other. Hunger games was created to make managing the final game easier with one tweak: allowing teaming up. Just like the hunger games source material and traditional free for all, there can only be one winner, even if you decide to team up. The same scoring rules still apply and everyone is on the 1X mode so they can still shoot their teammates. Before starting the final game mode, a vote is usually offered between FFA and Hunger Games – 99% of players will raise their hands for hunger games despite playing team games for the past 100 minutes. Standard FFA has never won when put to a vote.
8/10 – Resolves the main issue with FFA (cheating) but still provides a good challenge whether you team up or not.

This is a one-off game mode that can only be played when everyone is fully aware of the rules and agrees to them. All standard FFA rules are applied, but all players split into groups of 2. Unlike the other FFA games, their score is combined with their teammate’s and they will win as a pair if they have the highest score. This can be tricky to calculate as it relies on players returning back with their partner to add their scores together.
8/10 – The duos rule adds an interesting tactical element as it’s almost impossible to win without your teammate.

Along with domination, this game mode is the most fast paced. This game is just like team deathmatch, but only the kills that are confirmed count. To confirm a kill, the player has to return back to their base alive and with at least one kill. They are then new missioned, which resets their hits and kills. The team with the most confirmed kills wins. There is a high level of risk vs reward as a player needs to decide whether to waste time running back to base to confirm their kills or to keep going and risk losing their kills. This game mode can be very tricky to manage because your ref gun can hit multiple players at once, meaning you can reset a player you have not yet checked the score of. If you have too many players, it can take longer for them to respawn as they have to wait in a queue for the marshal to check other players’ scores. However, if there are too few players, there will hardly be any kills as most players will not want to to go beyond the middle path to avoid having to travel too far to respawn or bank kills.
6/10 – A fun and very fast paced mode, but is difficult to keep track of the score.

This game mode has only been played once or twice and is the same as base assault but with the one difference being that the defenders need to have 1 person left alive in the top fort. This can be more difficult as the defender as it is a smaller space and is difficult to get back into due to the fort being on a hill. The attackers can just take the fort and are able to easily see any defenders coming back at the end of the game.
3/10 – Same flaw as base assault, but the area is harder to attack.
